how to do a natural hair protective style with clip ins

How to Do A Natural Hair Protective Style with Clip Ins

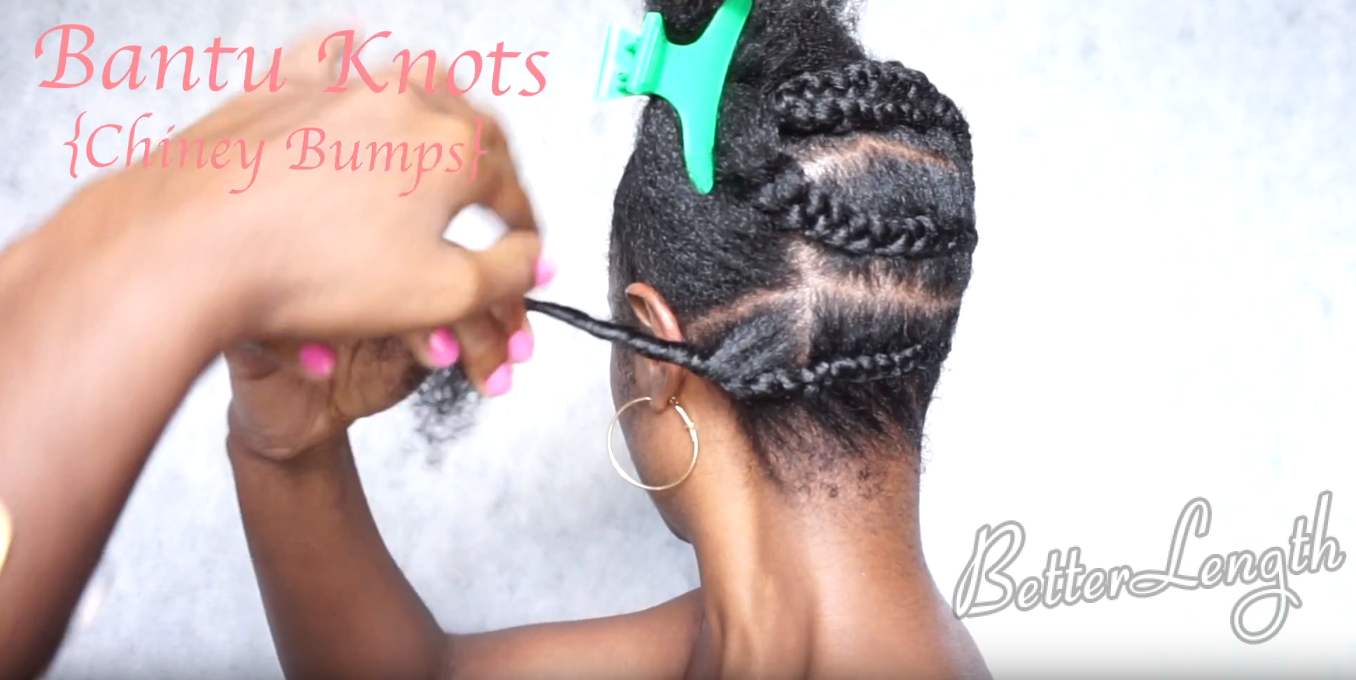
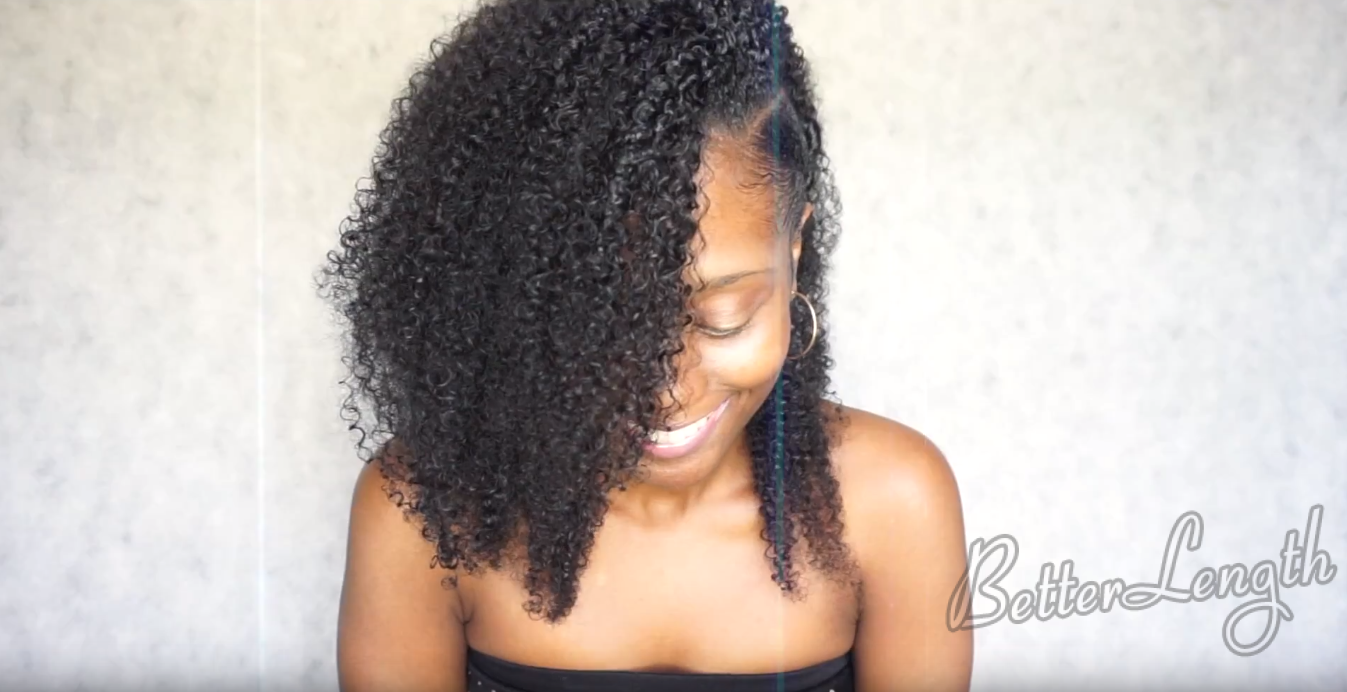
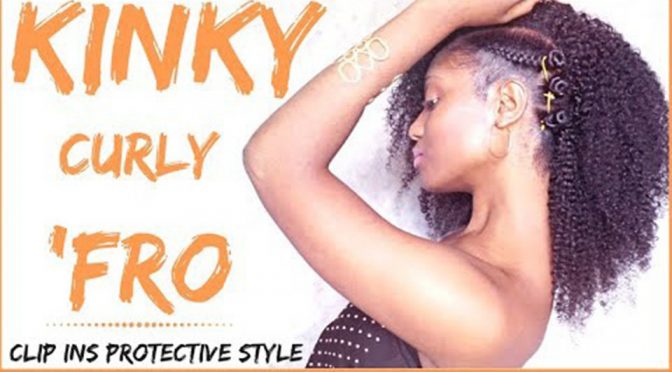
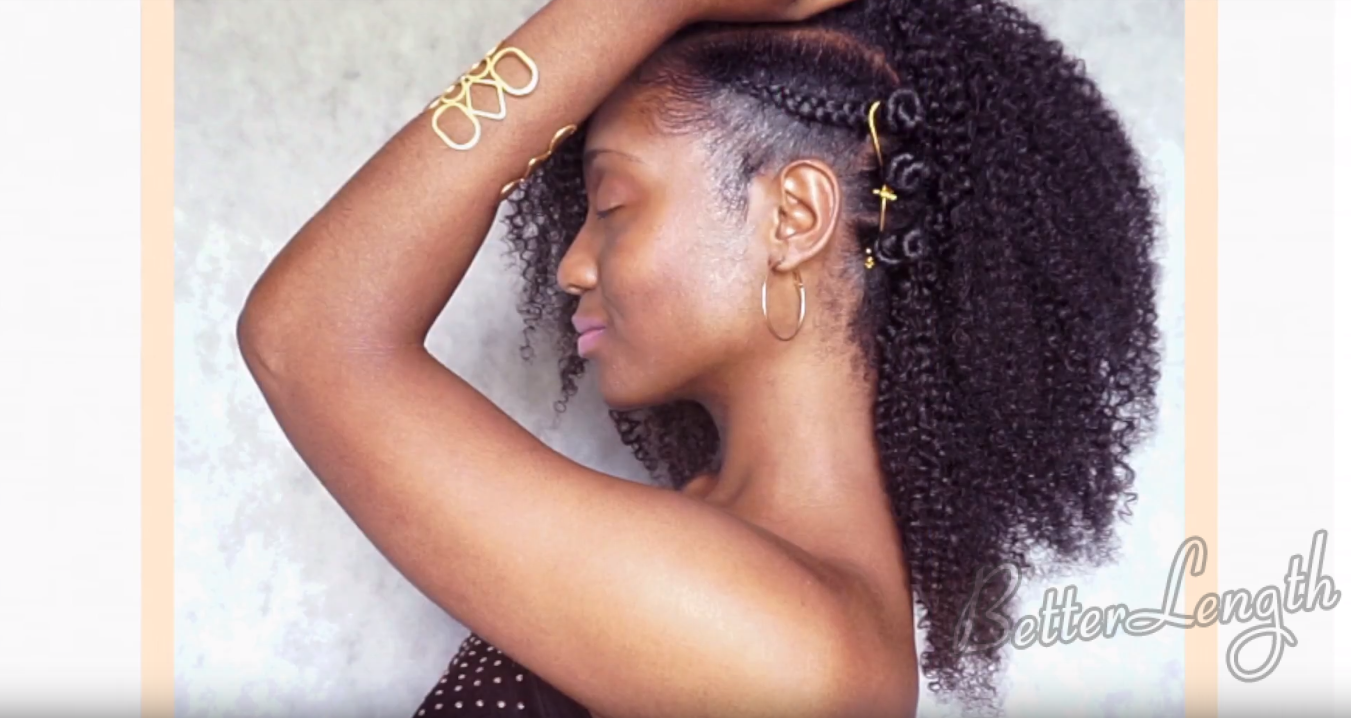
If you don’t like wigs or sew-ins, try clip ins! All you have to do is prep the clip ins for the style you want, clip them in, and go! That way, you don’t have to worry about failed hairstyles. The key is getting clip ins that best match your hair texture so you won’t have to over-manipulate your own hair by trying to blend it with the extensions. Ladies, I hope this curly afro hairstyle with bantu knots and braids, gives you another protective style option for your natural hair!

The hair she used in this tutorial is BetterLength 16″ Afro Kinky Curly clip ins.

Step One

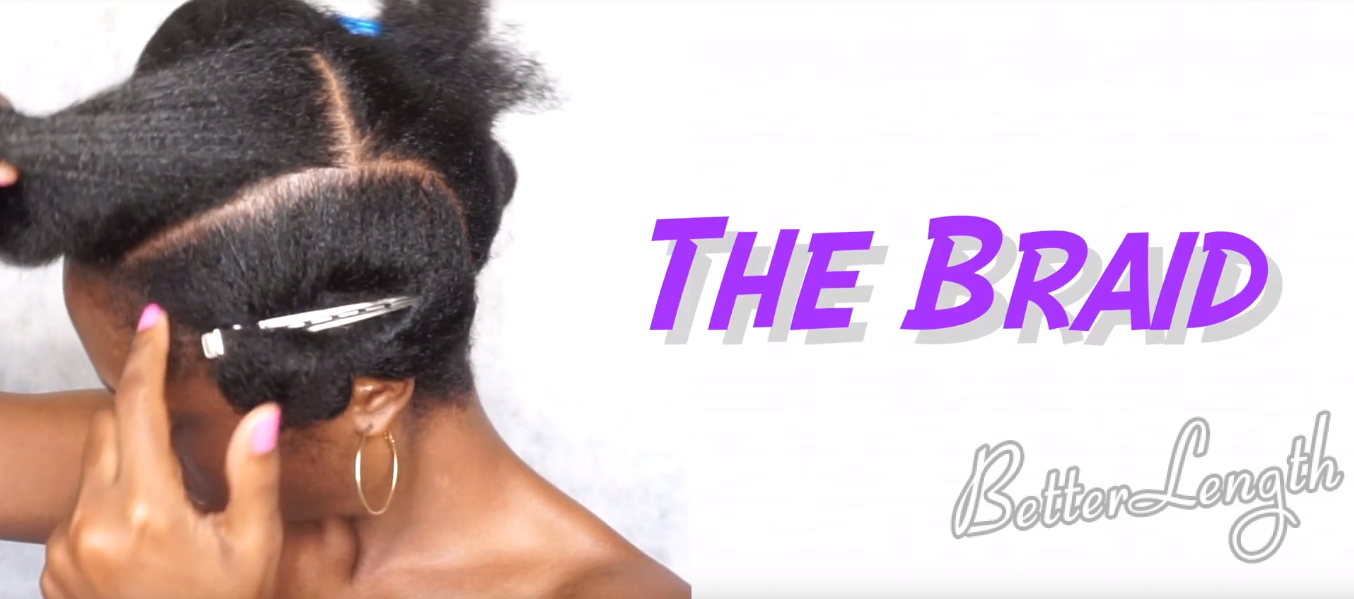
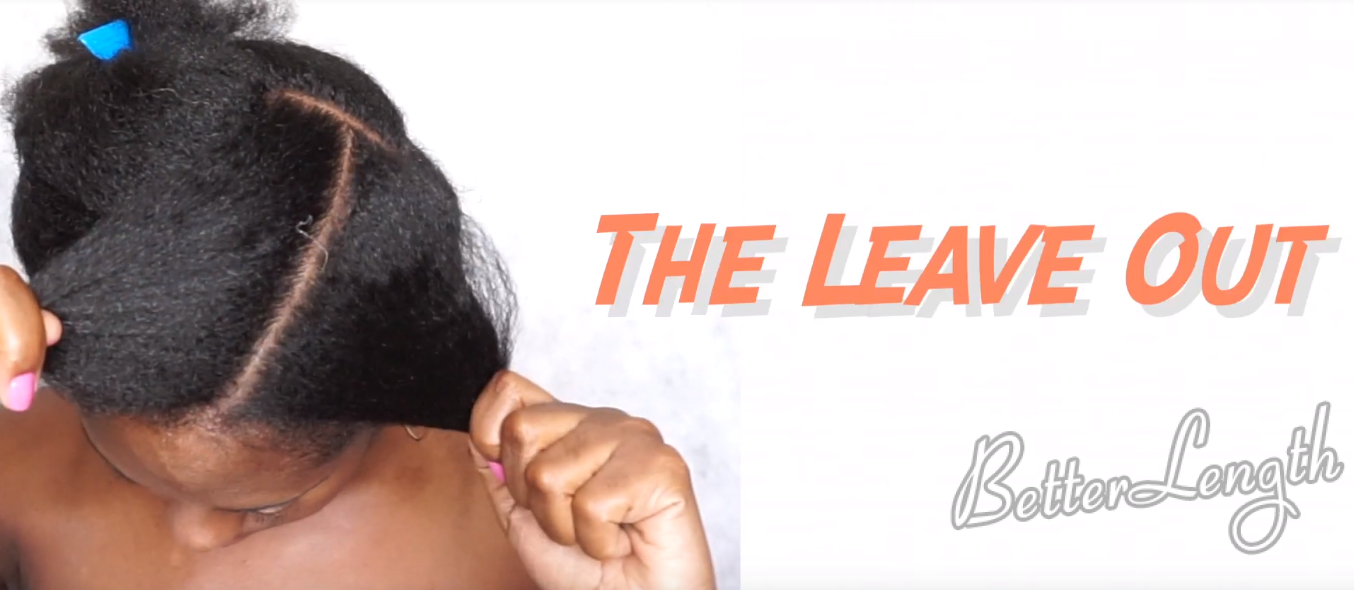
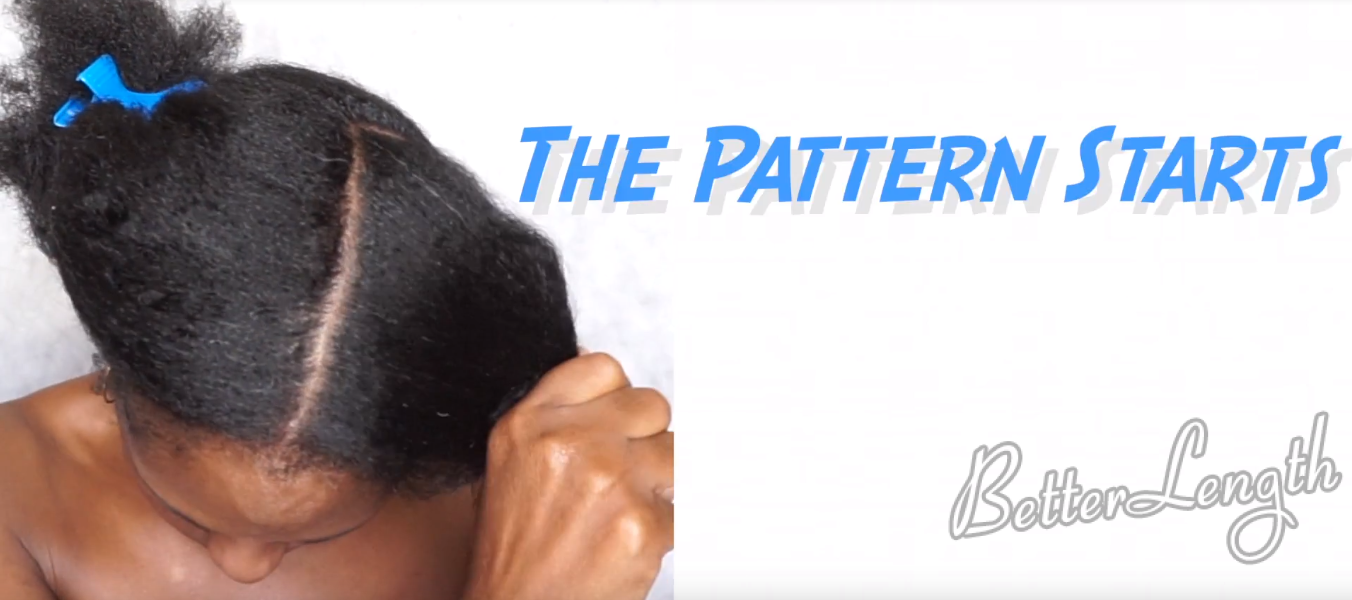
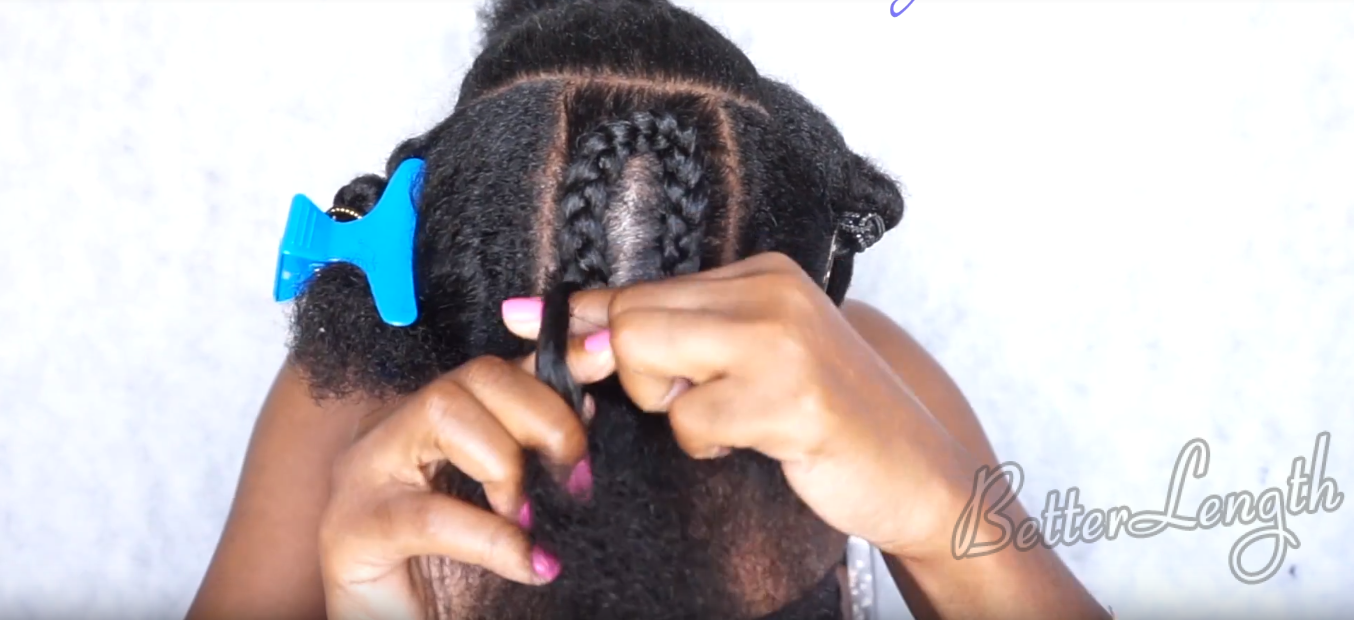
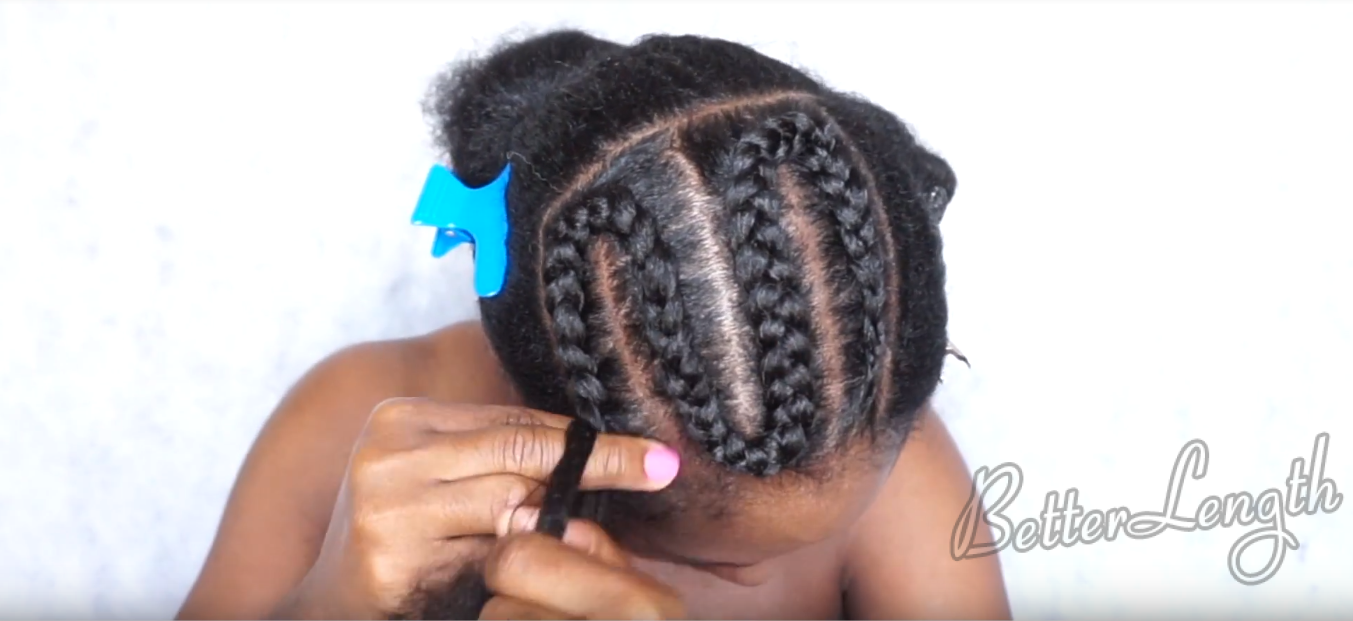
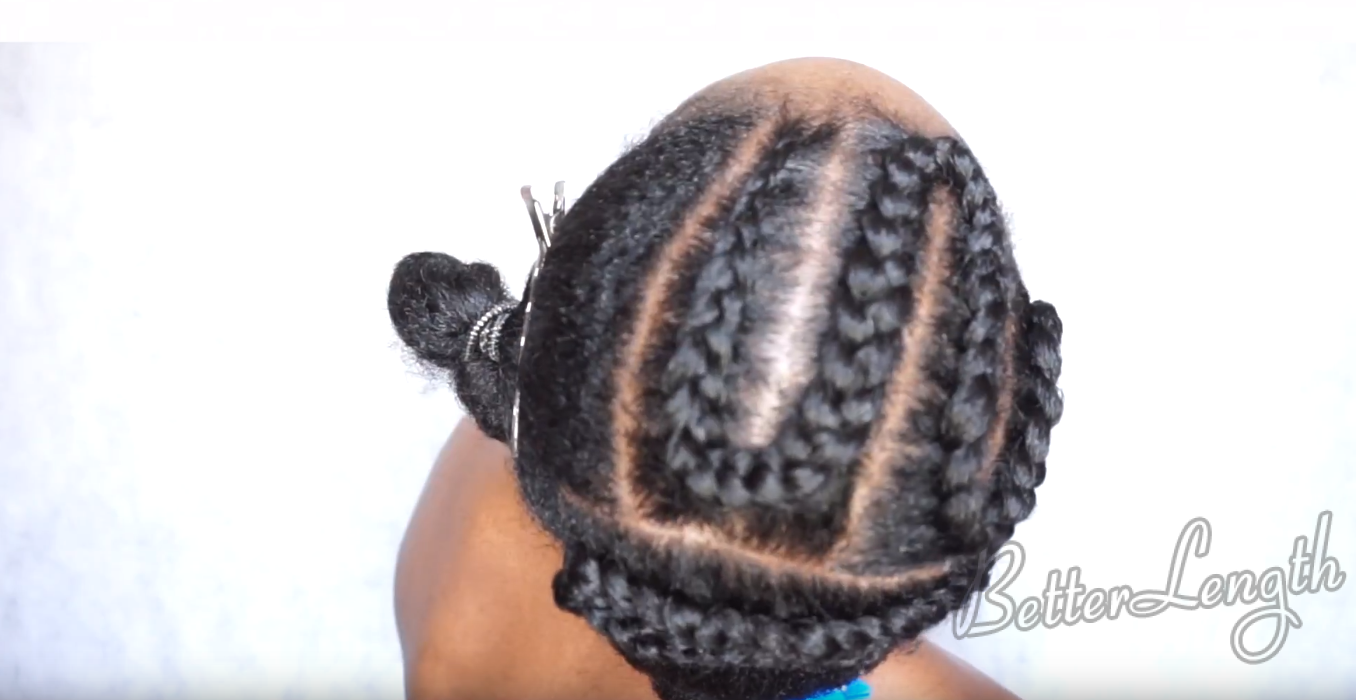
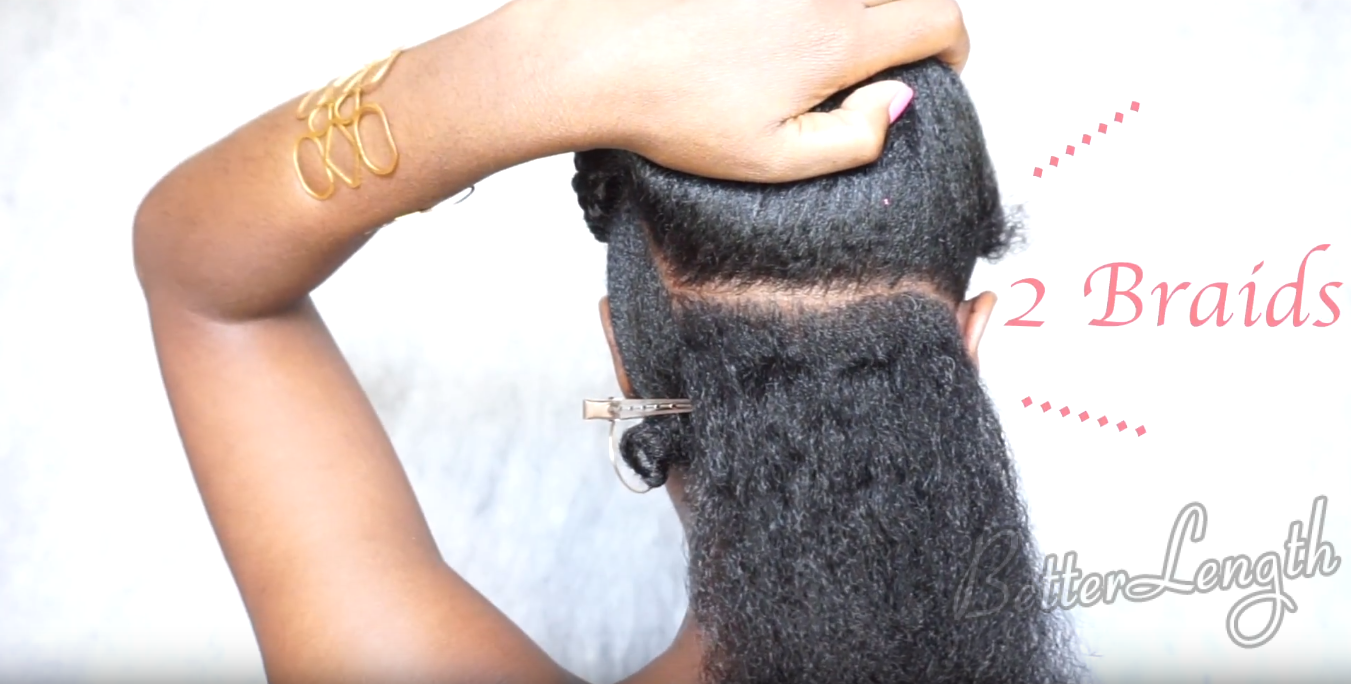
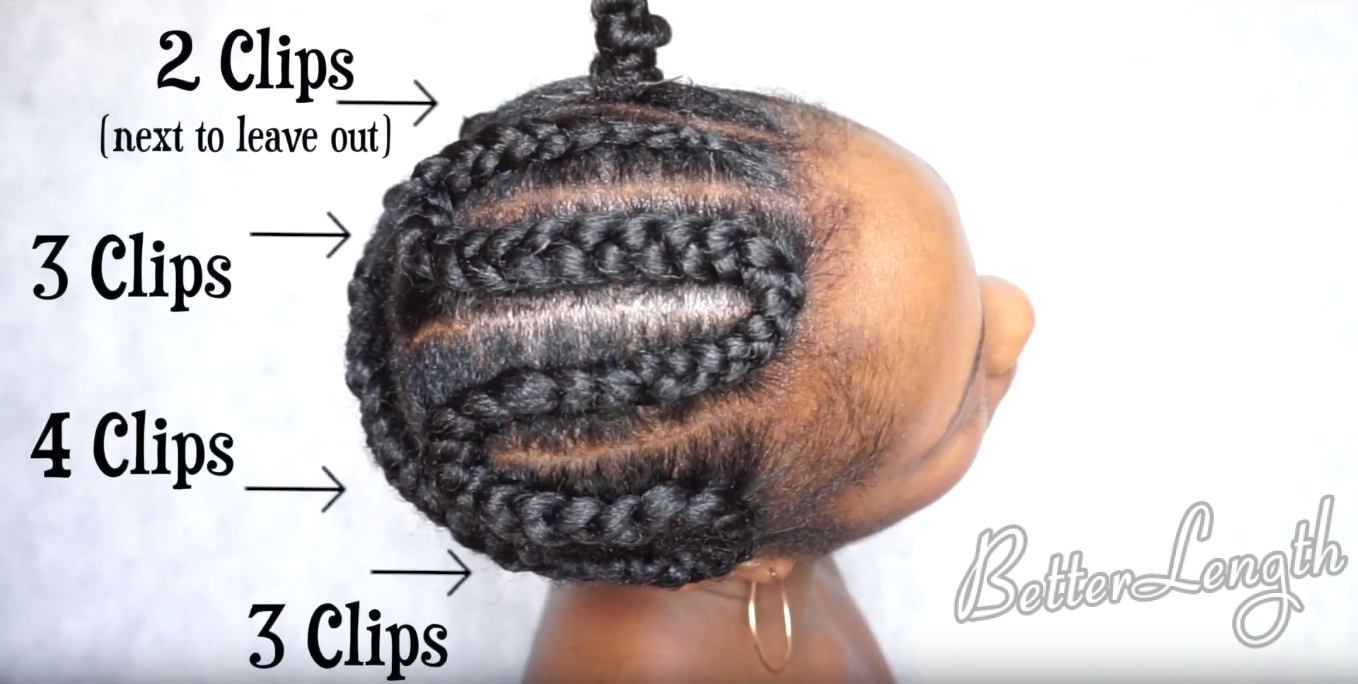
LAY THE FOUNDATION
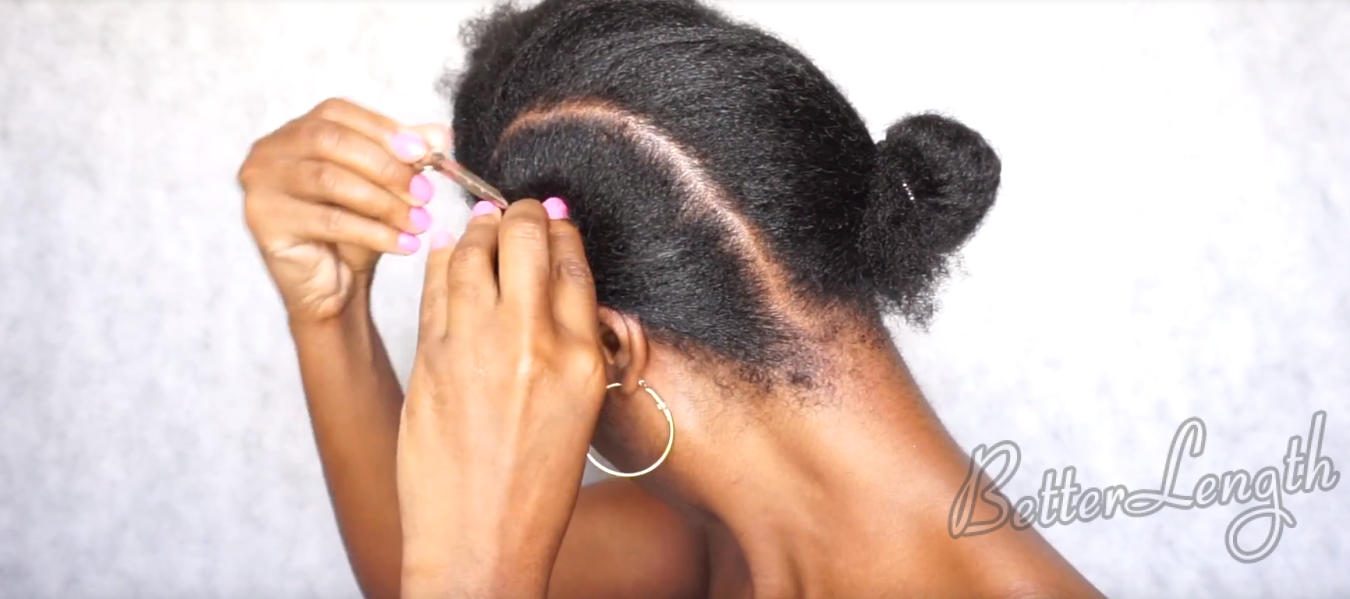
1 4 - How to Do A Natural Hair Protective Style with Clip Ins

2 4 - How to Do A Natural Hair Protective Style with Clip Ins

3 4 - How to Do A Natural Hair Protective Style with Clip Ins

4 4 - How to Do A Natural Hair Protective Style with Clip Ins

5 4 - How to Do A Natural Hair Protective Style with Clip Ins

6 4 - How to Do A Natural Hair Protective Style with Clip Ins

7 4 - How to Do A Natural Hair Protective Style with Clip Ins

8 4 - How to Do A Natural Hair Protective Style with Clip Ins

9 3 - How to Do A Natural Hair Protective Style with Clip Ins

Step Two

CURLS IN A SNAP! (THE INSTALL)
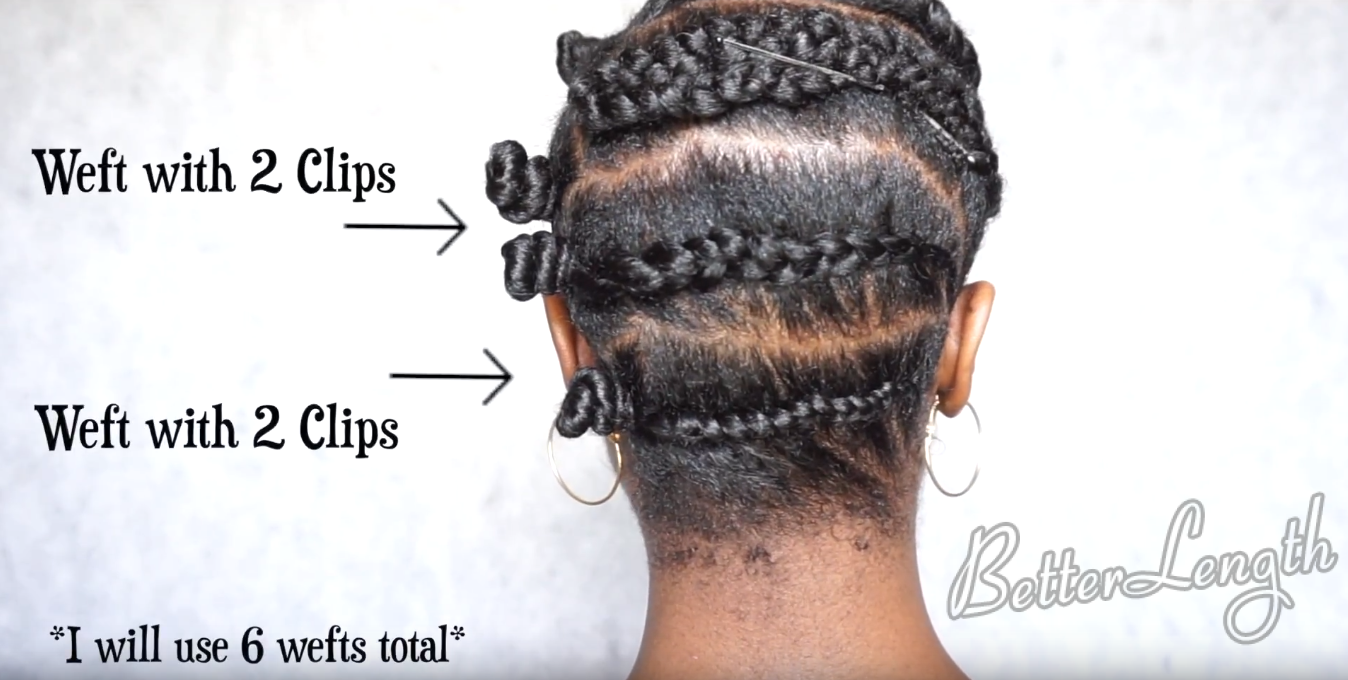
10 2 - How to Do A Natural Hair Protective Style with Clip Ins

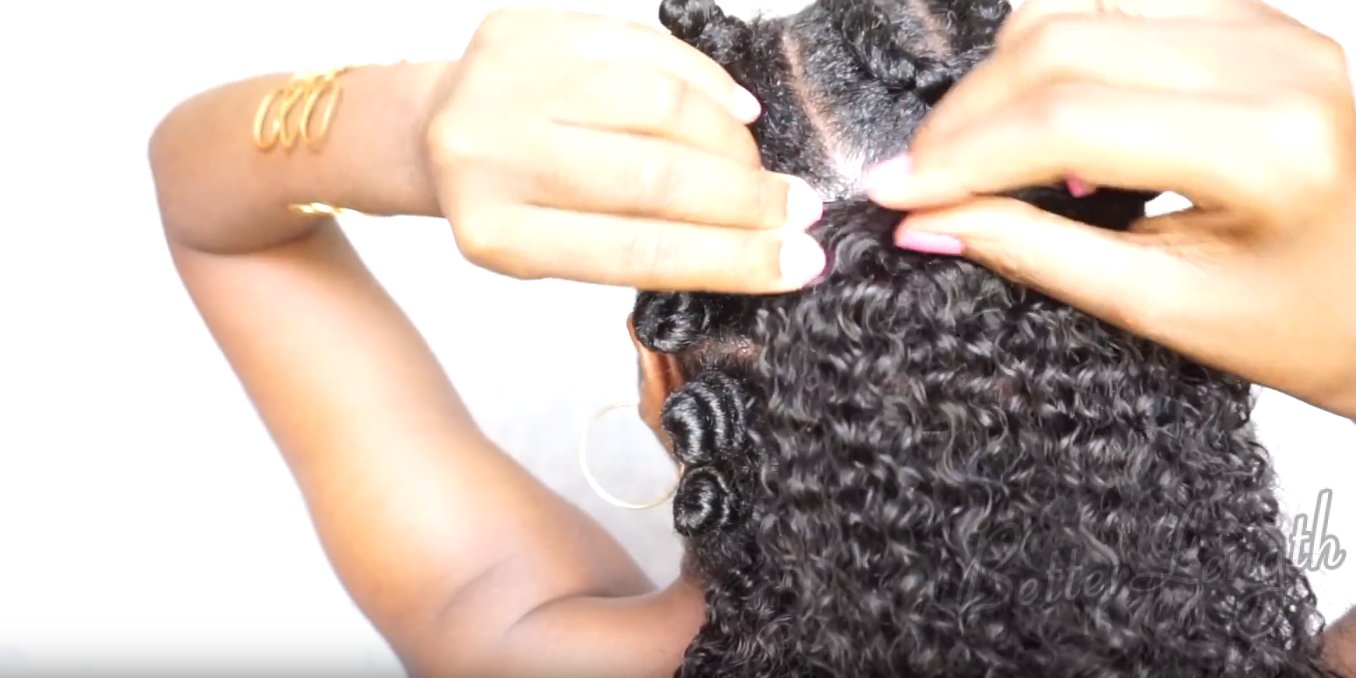
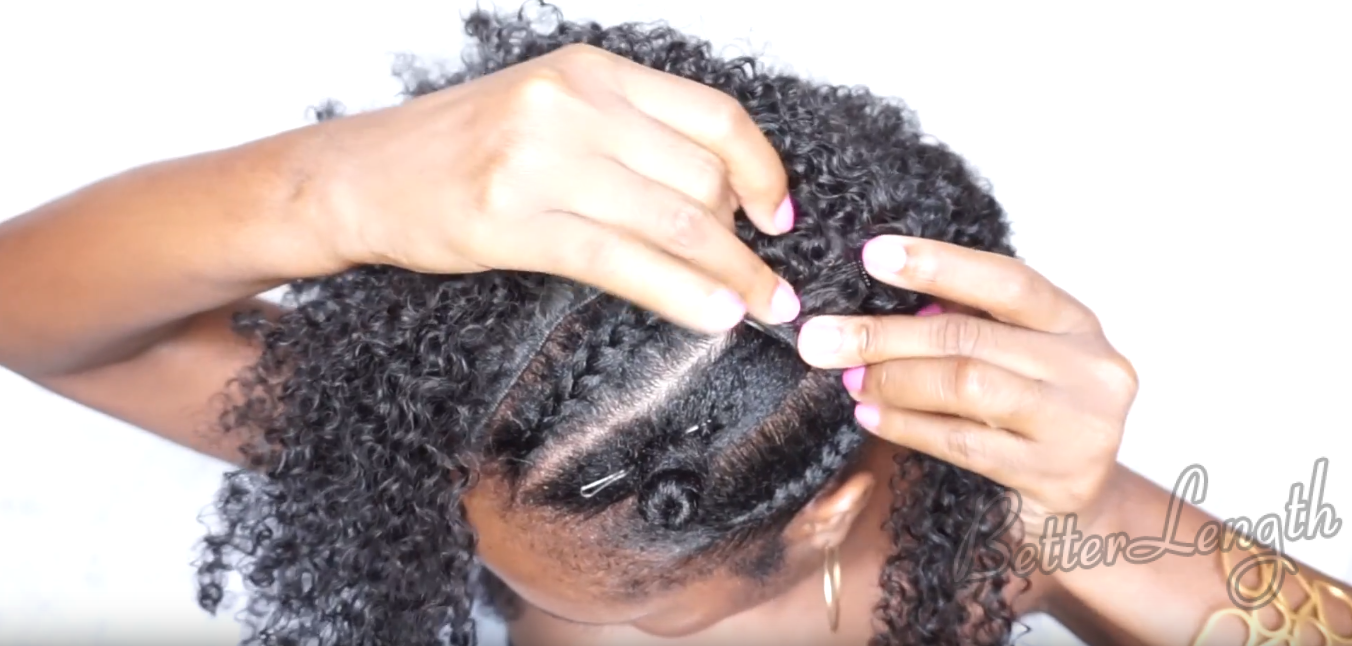
To install the hair, open the clip and slide it into your loose hair, not also actual braid and then you just snap close the clip.
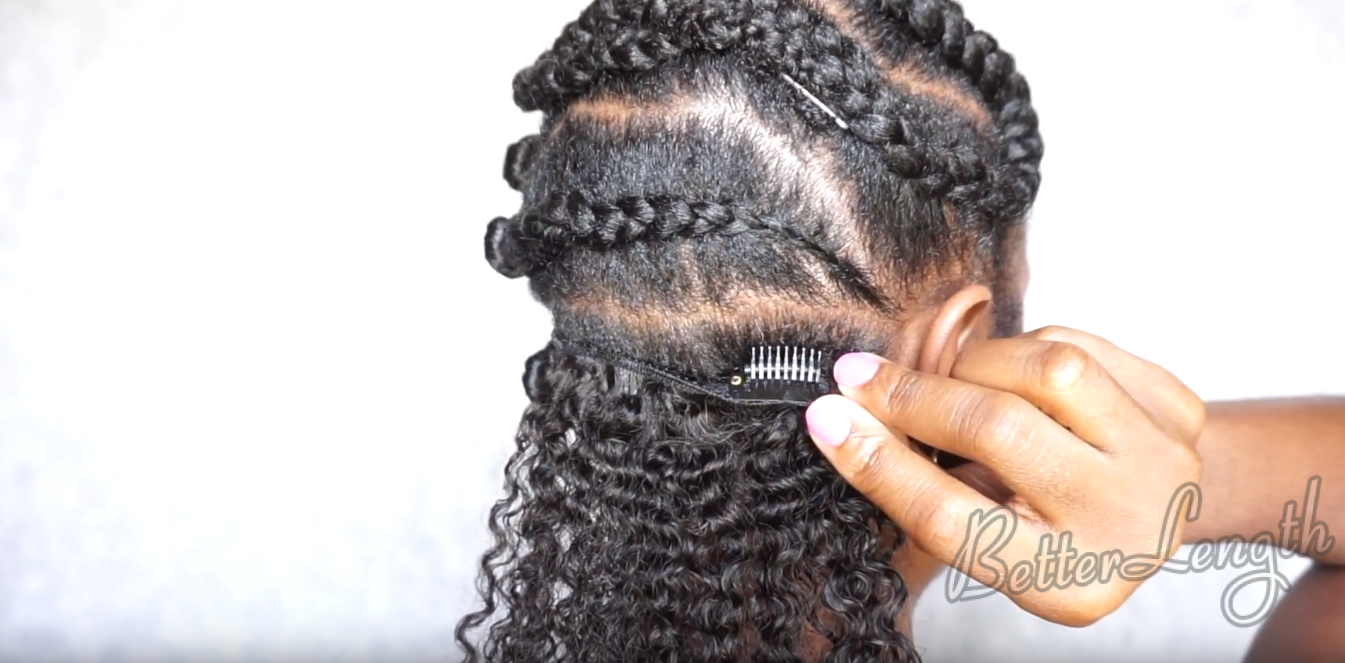
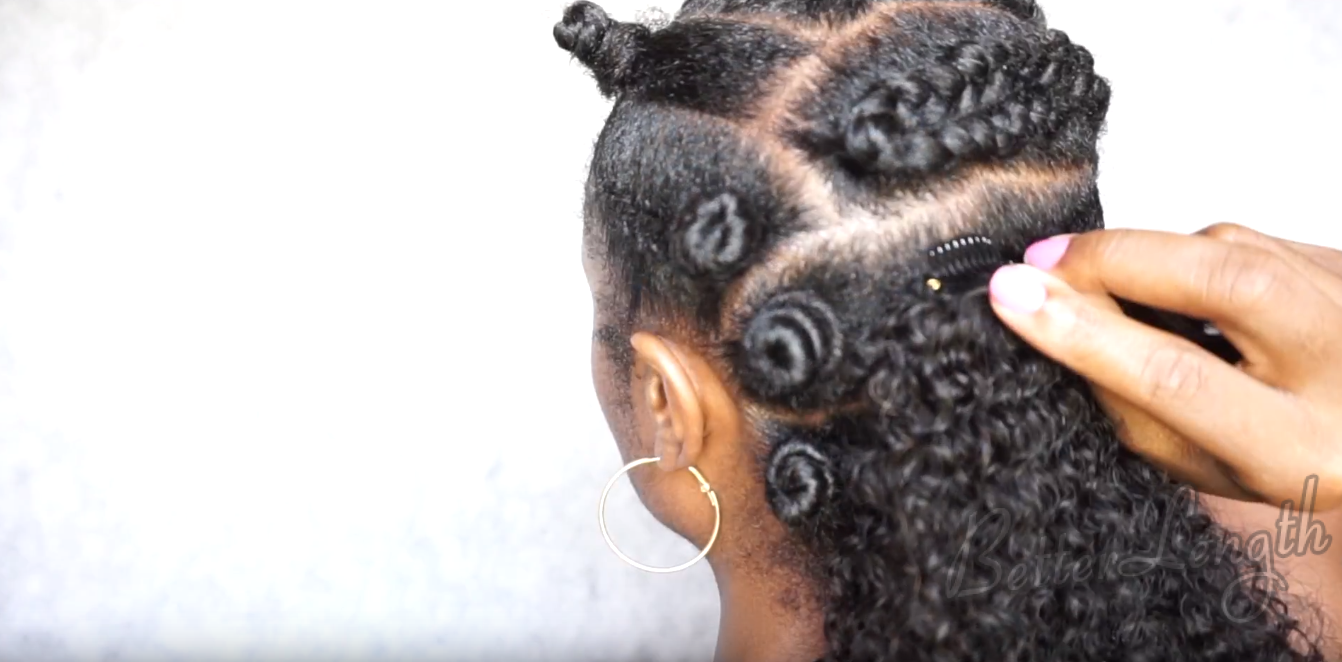
11 2 - How to Do A Natural Hair Protective Style with Clip Ins

12 1 - How to Do A Natural Hair Protective Style with Clip Ins

13 - How to Do A Natural Hair Protective Style with Clip Ins

14 - How to Do A Natural Hair Protective Style with Clip Ins

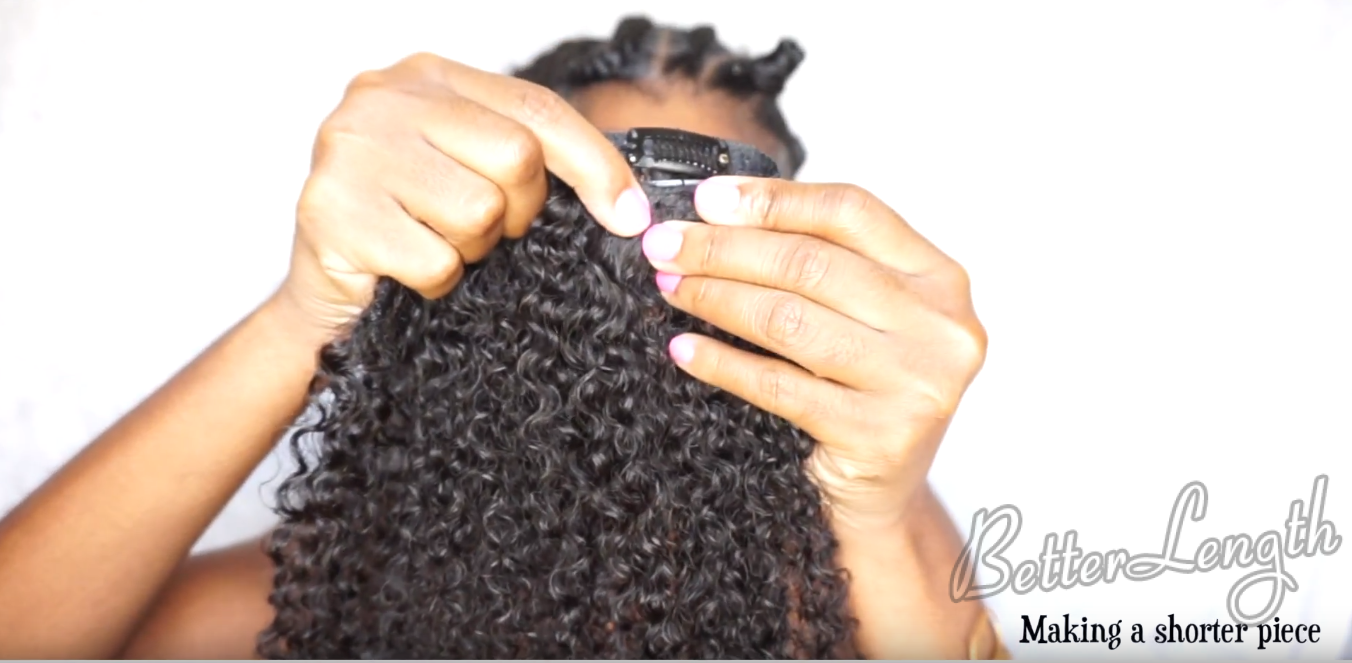
Making a shorter piece

15 - How to Do A Natural Hair Protective Style with Clip Ins

16 - How to Do A Natural Hair Protective Style with Clip Ins

Step Three

BLEND

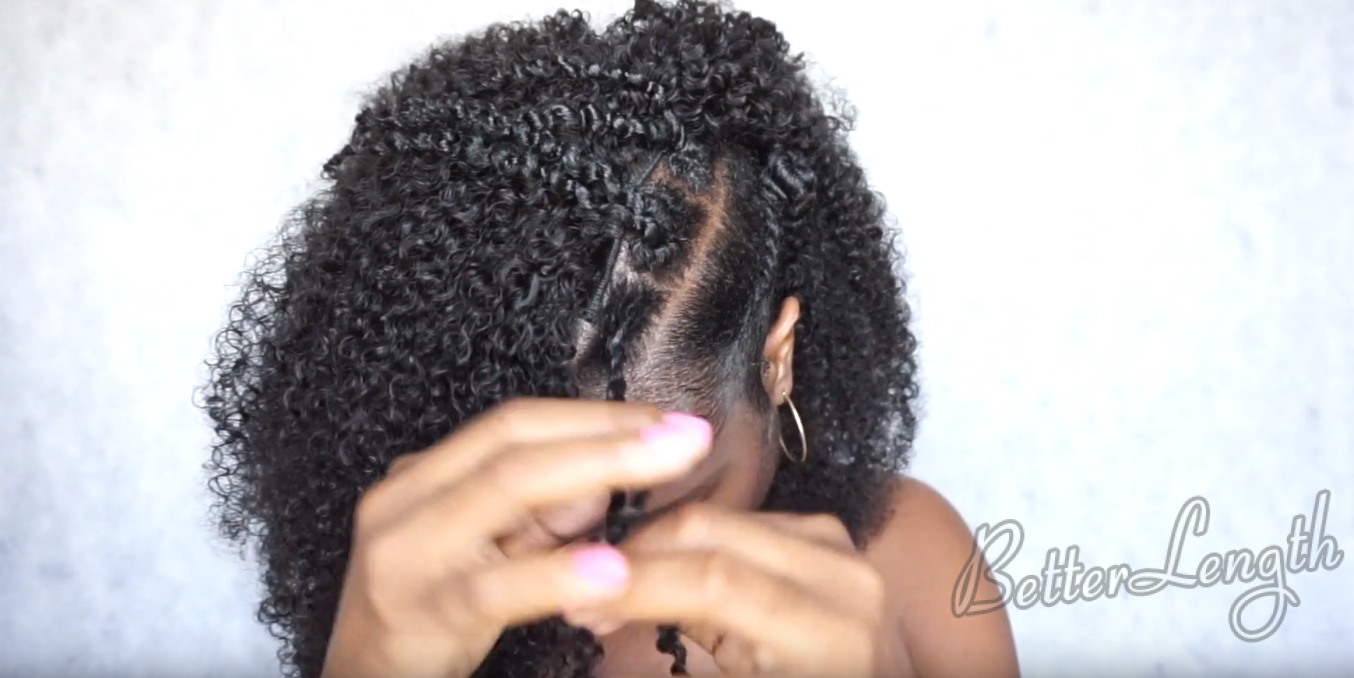
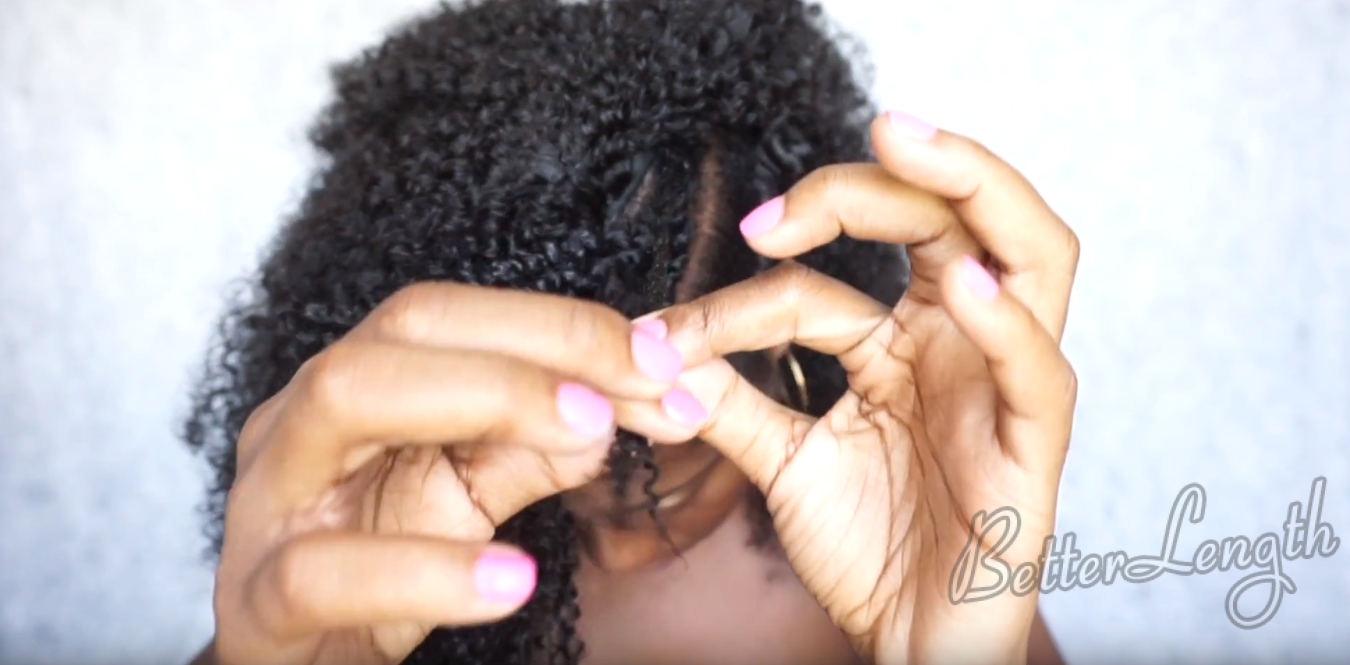
To blend, just do two strand twists on your damp hair and then let it air dry, but the twist makes your hair more defined than the extensions. So smooth your fingers down the length of your hair to try to loosen it a bit and then give a little tussle so that it could naturally fall with the clip ins.
17 - How to Do A Natural Hair Protective Style with Clip Ins

18 - How to Do A Natural Hair Protective Style with Clip Ins

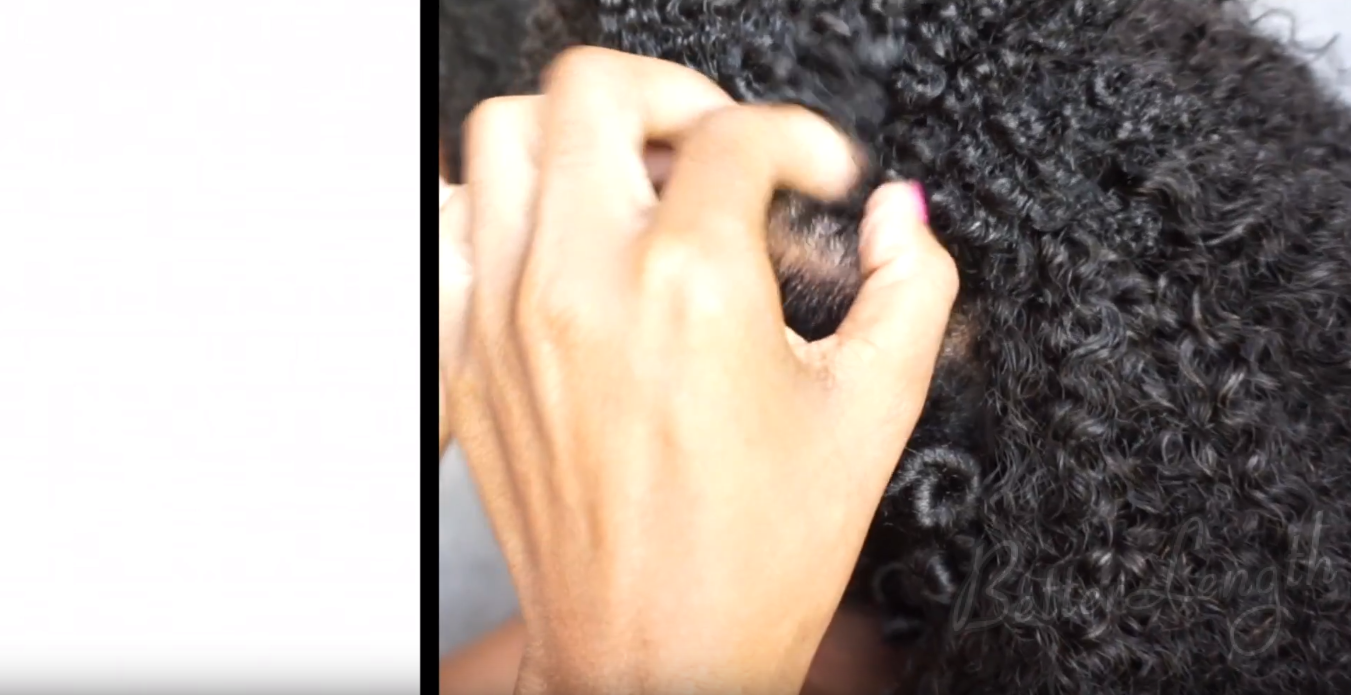
After that, close any parts that are showing from the twist and your hair will blend really well with these clip ins.
19 - How to Do A Natural Hair Protective Style with Clip Ins

Step Four

Use strings to jazz up this look. And here is the finished look
20 - How to Do A Natural Hair Protective Style with Clip Ins

21 - How to Do A Natural Hair Protective Style with Clip Ins

—END—

Video created by @Sehvynn Minnits to Party

PRODUCTS USED IN THIS TUTORIAL:

afrokinkycurly - How to Do A Natural Hair Protective Style with Clip Ins